Window films can completely change the look and comfort of your space, keeping rooms cooler, reducing glare, and adding privacy. But over time, even the best-quality window film can start peeling, bubbling, or fading if it’s not cared for properly. These issues often happen because of simple maintenance mistakes or environmental factors that could easily be avoided. In this guide, you’ll learn everything you need to know about keeping your window film in great condition, avoiding costly replacements, and extending its life for years. Let’s start by understanding how long window films usually last and what affects their durability.
Typical Lifespan of Window Film & What Impacts It
Most window films are designed to last anywhere from 5 to 15 years, depending on the type and quality. For example, decorative films tend to have a shorter lifespan (around 5 to 8 years), while solar control or safety films can last over a decade with the right care. Films applied on windows that receive direct sunlight tend to degrade faster, especially if they’re exposed to high UV levels and heat cycles daily.
Factors that impact lifespan include:
- Film quality and material composition: Higher-grade films often have UV blockers, anti-scratch layers, and better adhesives.
- Installation quality: Poorly installed films can trap air bubbles or dust, reducing longevity.
- Climate and exposure: Sunlight, humidity, and temperature shifts affect adhesive bonds and cause fading.
- Maintenance habits: Harsh cleaning products or abrasive cloths can wear down protective coatings.
- Glass type and condition: Old or damaged glass can cause uneven adhesion.
When properly maintained, a professionally installed film can remain clear and functional for over 20 years in moderate climates.
| Type of Window Film | Average Lifespan (Years) | Expected Maintenance Level |
| Decorative / Frosted | 5–8 | Light cleaning, avoid scratches |
| Solar Control / UV | 10–15 | Regular cleaning, avoid harsh sun |
| Privacy / Reflective | 8–12 | Clean with non-abrasive cloths |
| Safety / Security | 15–20 | Regular inspection and edge care |
| Smart / Switchable | 8–10 | Keep controls dry and dust-free |
Proper cleaning habits and environmental awareness can easily push these numbers higher.
Why Maintenance Is the Key to Longer Window Film Life
Think of window film maintenance like caring for your car’s paint, small efforts over time prevent major damage later. Regular maintenance doesn’t just keep the glass clean; it preserves the film’s clarity, adhesive bond, and UV protection. Dirt buildup, strong chemicals, and neglect are the main reasons films lose their effectiveness early. By adopting gentle cleaning habits and protecting the surface from physical damage, you can easily extend its life by several years.
Proper maintenance also ensures that your investment in window film continues to provide energy efficiency, privacy, and safety benefits without constant replacements. In short, it’s cheaper and smarter to maintain your film than to reinstall it every few years.
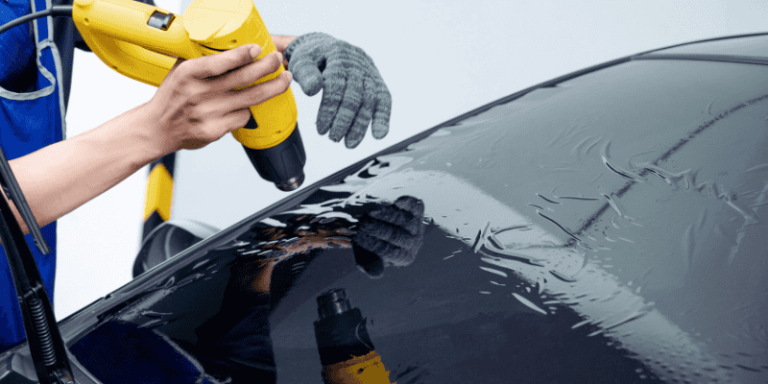
Pre-Use & Post-Installation Care (Curing + Early Phase)
Right after installation, window film needs time to cure, this means the adhesive must bond fully to the glass and the moisture used during installation must evaporate. During this period, it’s normal to see small water bubbles or a slightly hazy appearance. These will clear up naturally as the film settles.
Here’s what you should do during the curing phase:
- Avoid cleaning for at least 7–30 days, depending on the film type and climate.
- Do not roll down windows if the film is installed on car glass.
- Keep direct sunlight and heat moderate during the first few days to help the adhesive set properly.
- Avoid touching or pressing the film, even if bubbles appear early on.
After the curing phase, inspect the film for uniform adhesion, smoothness, and edges. If you see significant air pockets or peeling, it’s best to contact your installer rather than trying to fix it yourself. This stage sets the foundation for the film’s long-term performance, so being cautious early on pays off later.
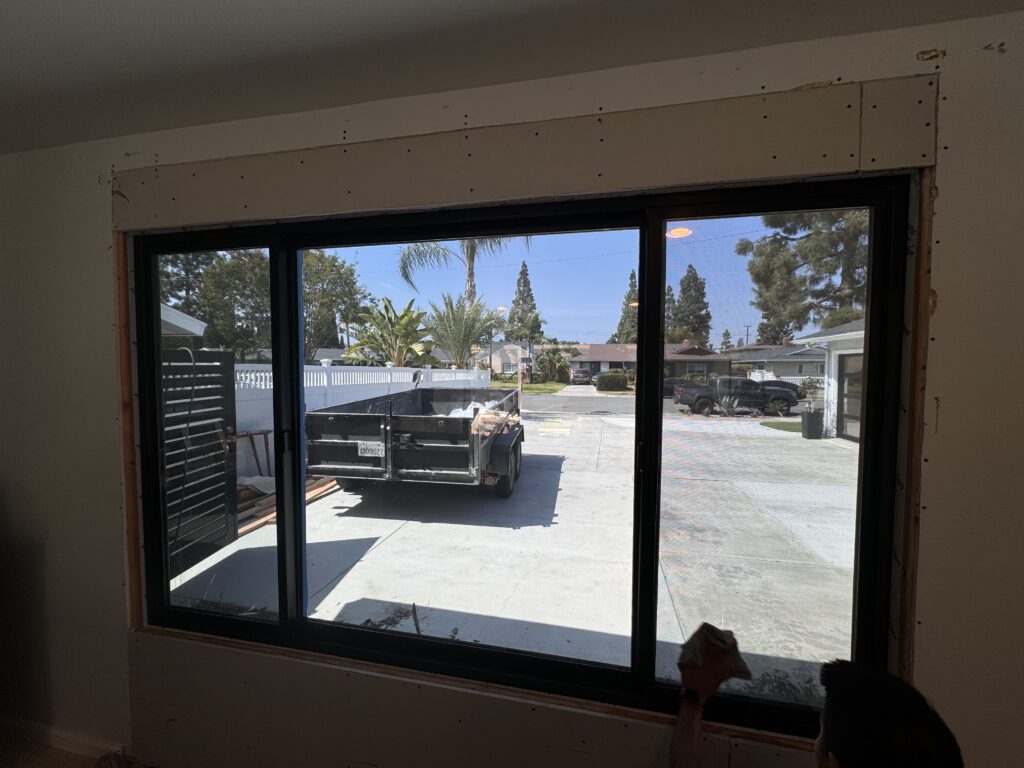
How to Check Your Film After Installation
Once the film has fully dried, do a careful inspection in natural daylight. Look for:
| Inspection Area | What to Check | Action if Issue Found |
| Edges | Lifting, curling, or uneven seals | Call your installer for re-sealing |
| Surface | Bubbles, streaks, dust particles | Small ones may settle; large ones need repair |
| Color Consistency | Fading or uneven tone | Monitor; may be due to exposure |
| Adhesion | Film feels loose or rippled | Reapplication may be required |
Documenting these points with photos can help if you need warranty support in the future.
Why Window Film Fails Prematurely
Understanding why films fail early helps prevent the same mistakes. The most common causes include:
- Exposure to ammonia-based cleaners – these break down the adhesive layer.
- Using sharp or rough cleaning tools – they scratch the protective coating.
- Ignoring early peeling or bubbling – small issues quickly worsen with heat.
- Excessive sunlight and heat – constant UV exposure weakens film pigments.
- Poor-quality installation or film – cheap adhesives lose grip faster.
Taking preventive steps from day one ensures that your window film performs efficiently for many years without losing clarity or peeling off.
Cleaning Frequency & Best Timing
Cleaning your window film regularly is one of the simplest yet most effective ways to extend its lifespan. Dust, fingerprints, and pollutants gradually build up, dulling the film’s clarity and reducing its efficiency. Ideally, you should clean your film once a month, or more often if you live in an area with high dust or pollution levels.
Choose a cool time of day, preferably early morning or evening, when the glass is not heated by direct sunlight. Cleaning under sunlight can cause the cleaning solution to dry too quickly, leaving behind streaks or water spots. For high-humidity areas, use a microfiber cloth that absorbs moisture well to prevent spotting.
Choose Safe Cleaning Solutions & Preparations
The wrong cleaning product can damage your film permanently. Avoid ammonia-based cleaners such as traditional glass cleaners, as they can break down the adhesive or tint layers. Instead, use one of the following safe options:
- Mild dish soap solution: Mix a few drops of gentle dish soap with warm water in a spray bottle.
- Commercial window film cleaner: Available from professional suppliers and safe for tinted or coated films.
- Distilled water with vinegar (for tough spots): A diluted 1:3 ratio of vinegar to water helps remove grime without harming the surface.
Always test any cleaner on a small corner before applying it to the entire window. Harsh chemicals or alcohol-based sprays can cause hazing or discoloration, especially on decorative or reflective films.
Recommended Tools & Materials
The right tools make cleaning easier and safer for your film. Avoid anything rough, sharp, or metallic. Here’s a quick guide:
| Recommended Tools | Use | Avoid These | Reason to Avoid |
| Microfiber cloths | Wiping and drying | Paper towels | They scratch and shed lint |
| Soft sponge | Applying solution | Scouring pads | Too abrasive |
| Rubber squeegee (smooth edge) | Drying and streak removal | Old squeegees with nicked edges | Can tear the film |
| Spray bottle | Applying cleaner evenly | Buckets and cloth dunking | Causes uneven application |
These simple swaps can prevent scratches, bubbling, and peeling, issues that often happen from rough tools rather than from the film itself.
Step-by-Step Cleaning Technique
Proper cleaning technique is just as important as the cleaner you use. Follow these steps:
- Spray lightly: Mist the cleaning solution onto the film. Avoid oversaturating the window.
- Wipe gently: Use a soft, damp cloth or sponge to clean in smooth, overlapping strokes. Move in one consistent direction, horizontal or vertical, to reduce streaks.
- Dry immediately: Use a clean, dry microfiber cloth or squeegee to remove moisture. Leaving water to dry naturally can cause water spots.
- Edge care: Be gentle near the edges. Never rub or scrub where the film meets the frame, as this can lift the edges.
Tip: Always wipe in one direction instead of circular motions. Circles tend to leave swirl marks and uneven shine, especially under sunlight.
Edge Care & Margin Maintenance
Edges are the most fragile part of window films. Once they start lifting, moisture and dust can seep underneath, causing further peeling or bubbles. To keep the edges intact:
- Avoid spraying cleaning solution directly onto the edges, mist from a distance.
- When drying, use light pressure near corners.
- If a corner starts lifting, don’t use glue or tape to fix it. This traps moisture and makes the problem worse. Instead, call a professional for a small patch repair.
This small habit alone can add years to the film’s lifespan, as edge lifting is one of the earliest signs of deterioration.
Avoiding Mechanical Stress
Window films often get damaged by daily habits rather than cleaning mistakes. Things like pressing hard against the window, bumping objects nearby, or letting pets scratch at the glass can cause scratches or dents. To minimize stress:
- Avoid letting furniture, belts, or jewelry touch the glass when cleaning.
- Keep pets’ claws away from filmed windows.
- Don’t place stickers or tape on the film surface. Removing them can strip the top coating.
- For car films, be gentle while rolling down windows, especially in the first few weeks after installation.
Protecting the surface from unnecessary impact will maintain both the clarity and bond strength of your window film.
Advanced Protection and Maintenance Upgrades
For those who want to go beyond routine care, advanced protection options can make your film even more durable:
- Protective coatings: Some manufacturers offer an extra anti-scratch or UV-protective coating that can be applied after installation.
- Hydrophobic sprays: These repel water and reduce streaking or spotting on sunny days.
- Supplemental shades or blinds: Reducing direct sunlight exposure lowers film temperature stress and fading.
- Professional cleaning services: For large glass areas or specialty films, scheduling a professional cleaning once or twice a year can keep the film looking new.
These upgrades not only preserve appearance but also keep energy-saving features intact, helping you maintain consistent comfort indoors.
Monitoring and Scheduled Inspections
A quick semiannual inspection can prevent small film problems from turning into replacements. Every 6 to 12 months:
- Check for any bubbles or loose edges.
- Look for discoloration or fading.
- Inspect corners and edges for dust buildup or separation.
- Take photos for reference or warranty purposes.
By spotting changes early, you can repair rather than replace, saving both time and money.
Long-Term Maintenance and Damage Prevention
Window films are a practical investment, but their longevity depends heavily on regular upkeep and protection against damage. Proper maintenance habits ensure that your window film remains effective, visually appealing, and safe for years. Here’s how to preserve its quality and prevent early deterioration.
Avoiding Common Mistakes That Shorten Film Life
Many people unintentionally damage their window films through simple cleaning or handling mistakes. Here are some common errors to avoid:
- Using Harsh Cleaners:
Cleaners that contain ammonia, alcohol, or strong chemicals can erode the film’s protective layer. Always use mild soapy water instead. - Scratching the Surface:
Using rough materials like paper towels, brushes, or scouring pads can scratch the film. Always stick to soft microfiber cloths. - Ignoring Small Damages:
Small tears or bubbles can expand if left unchecked. Address these issues early to avoid larger replacements later. - Applying Stickers or Tape:
Adhesive materials can damage the film or peel it off when removed. Avoid sticking anything to your windows.
How to Handle Peeling or Bubbling Issues
Even with proper care, window films can sometimes develop small issues over time. Here’s what to do if you notice any damage:
- Minor Peeling:
If the corner begins to peel, you can carefully reapply it using a plastic card or squeegee. For severe peeling, it’s best to contact a professional for reinstallation. - Bubbling:
Small bubbles often occur after installation and may disappear as the adhesive sets. However, persistent or large bubbles might indicate trapped moisture or poor adhesion.- Quick Fix: Gently press the bubble toward the nearest edge using a soft tool wrapped in cloth.
- Permanent Fix: For large or recurring bubbles, seek professional help to reapply or replace the film.
- Quick Fix: Gently press the bubble toward the nearest edge using a soft tool wrapped in cloth.
| Problem Type | Cause | Recommended Solution |
| Peeling edges | Age, moisture, or cleaning damage | Reapply film or consult a technician |
| Small bubbles | Trapped air or moisture | Wait or gently smooth out |
| Discoloration | UV damage or aging film | Replace with a new UV-resistant film |
| Scratches | Improper cleaning | Use microfiber cloth and mild cleaner |
Reapplication and Replacement Timeline
Even the best-quality window films have a lifespan. On average:
- Standard films last between 5–7 years.
- High-quality UV or ceramic films can last up to 15 years with proper care.
- Signs you need a replacement include fading, bubbling, peeling, or a noticeable drop in UV protection.
When it’s time to replace your window film, professional installation ensures a bubble-free, durable result. DIY applications may seem cost-effective, but errors can reduce film life and void warranties.
Seasonal Care Tips for Window Films
Environmental changes affect how your film behaves and ages. Adjust your maintenance routine with the seasons:
- Summer: Clean windows frequently to remove dust and pollen buildup. Check for bubbling due to heat exposure.
- Winter: Avoid washing windows during freezing conditions, as moisture can seep under the film and cause lifting.
- Rainy Season: Ensure proper sealing around windows to prevent moisture damage.
- Spring: Conduct a full inspection to identify any signs of wear or fading from UV exposure.
These simple seasonal habits go a long way in extending the lifespan of your window film.
When to Seek Professional Help for Window Film Issues
Certain problems require expert attention to avoid further damage. Contact a window film specialist if:
- You notice peeling across large sections.
- There’s visible discoloration or fading.
- The film has deep scratches or cracks.
- You’re unsure whether cleaning products are safe to use.
Professionals can inspect, repair, or replace your film with precision, ensuring the best results and longevity.
Final Thoughts: Protect Your Investment
Maintaining window film isn’t difficult; it’s about consistency and care. Regular cleaning with the right materials, monitoring for early signs of wear, and timely professional support can help your film last for many years. A well-maintained film doesn’t just keep your windows looking sharp, it continues to save energy, protect interiors, and maintain comfort for as long as possible.